Chapter 8 of A Steampunk Guide to Monsters, A Blob on a Boat, is one of my favorite chapters and features many funny images. I would like to show you some behind-the-scenes photos, costumes, sketches, and making-of photos.
Making the Blob
The blob is a miniature model that I built. First I created a sketch of what I wanted to see.

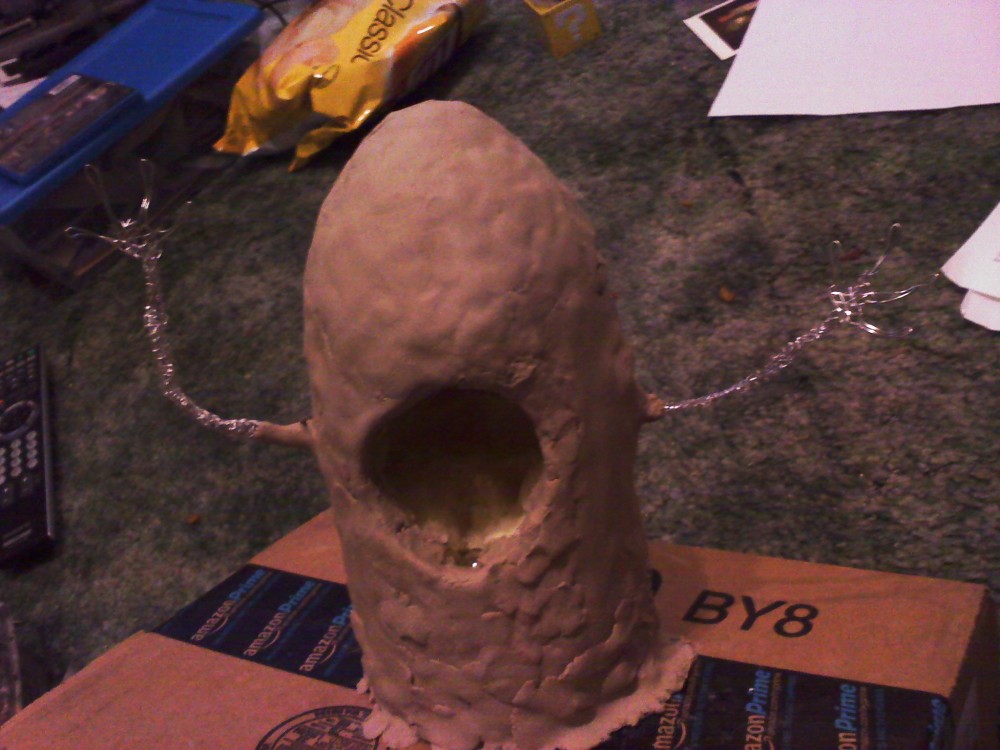
I took a soda bottle, some wire mesh, and made a wire skeleton. Then, I began to cover it in clay.

The clay covered all of the form except for the mouth hole, which was to be left open for screaming.
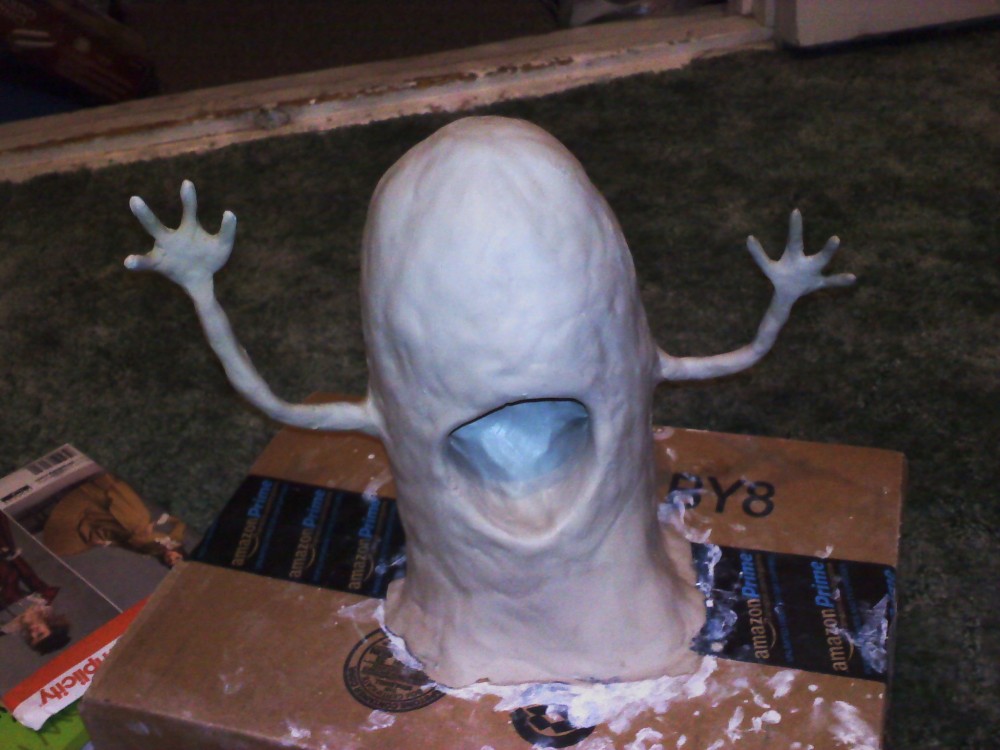
Once all the clay was on, I made sure to smooth the surface and shape the arms.
When the clay dried, I painted it red.
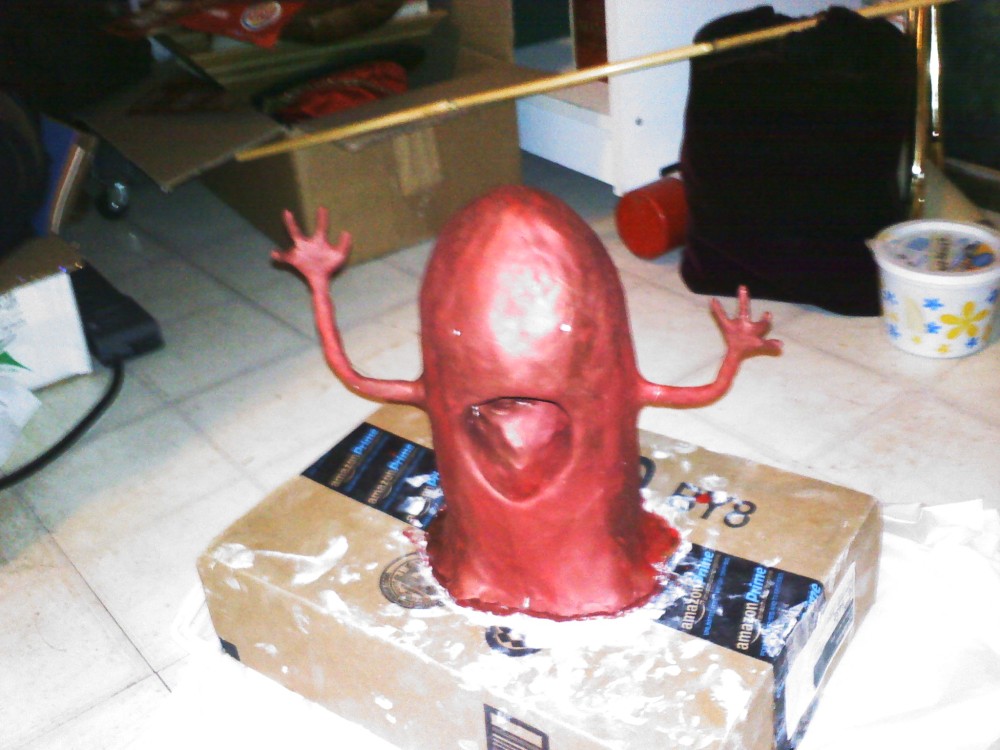
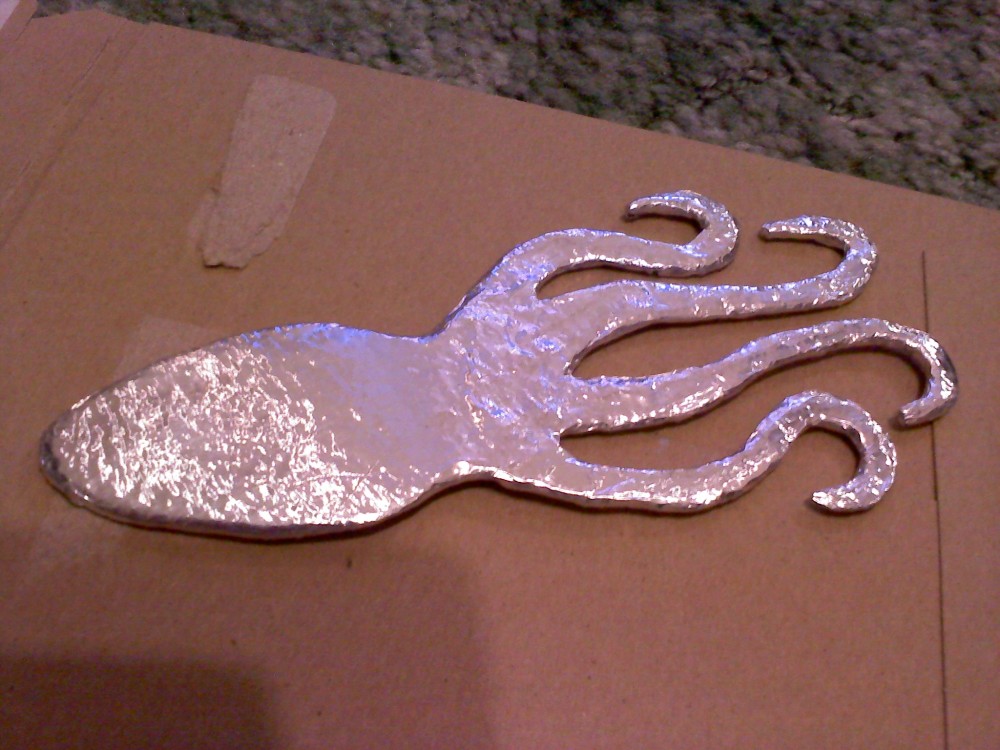
Finally, I melted wax all over the form to give it a blob like appearance.
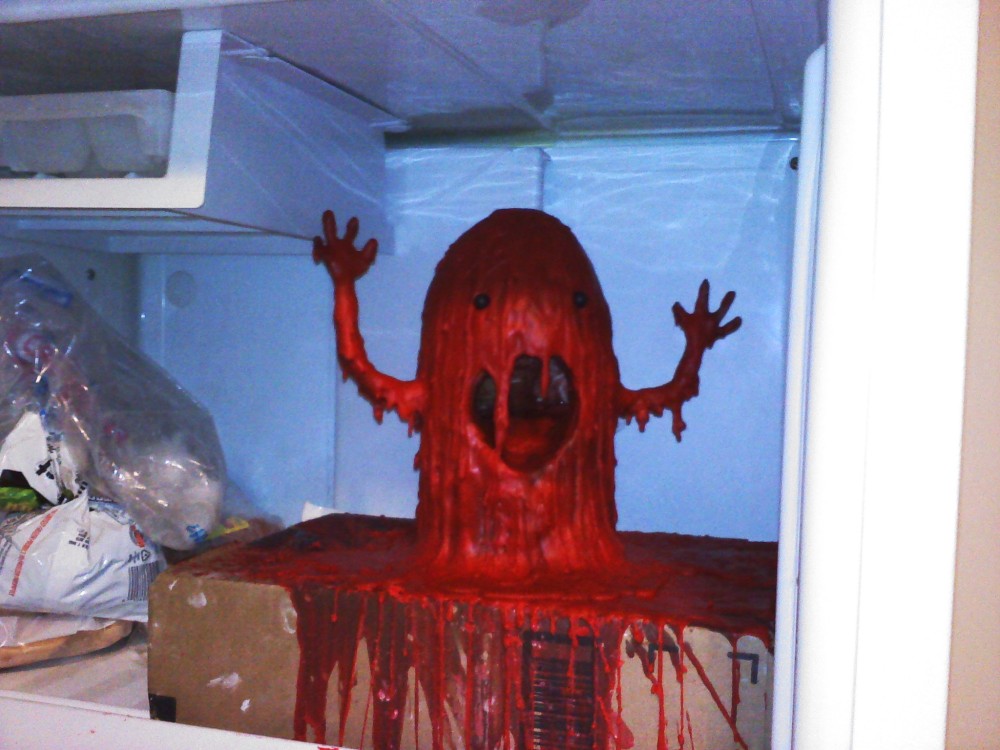
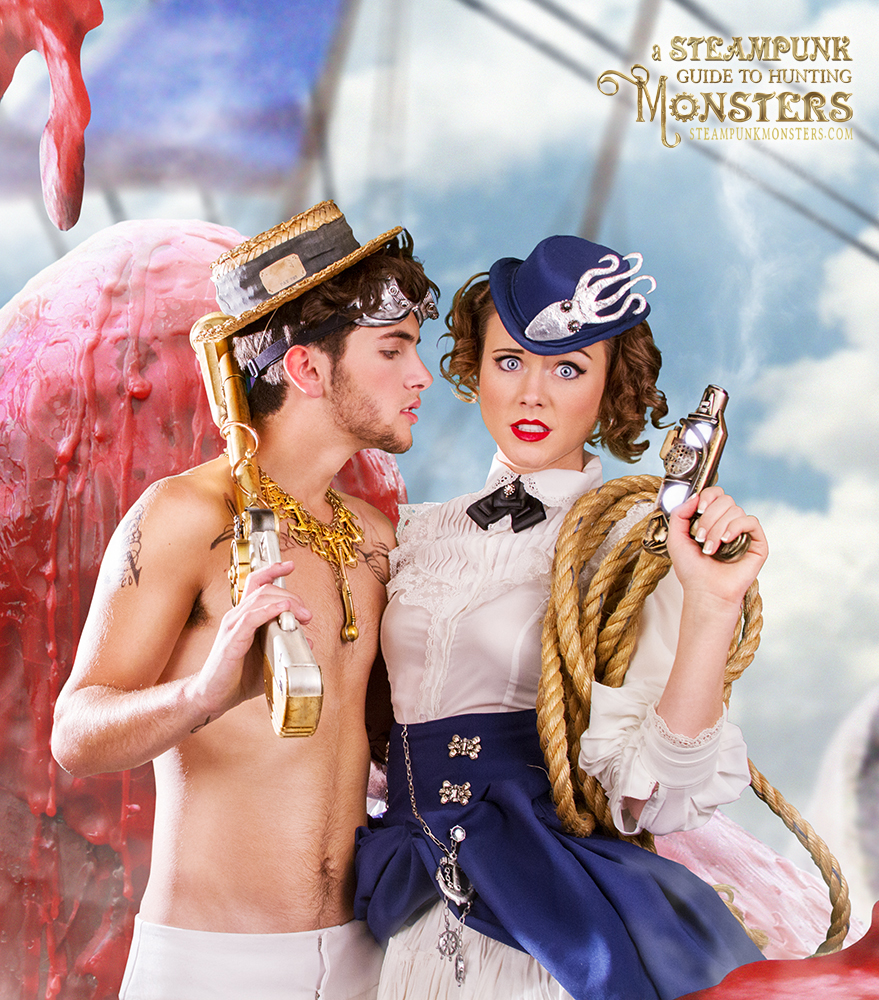
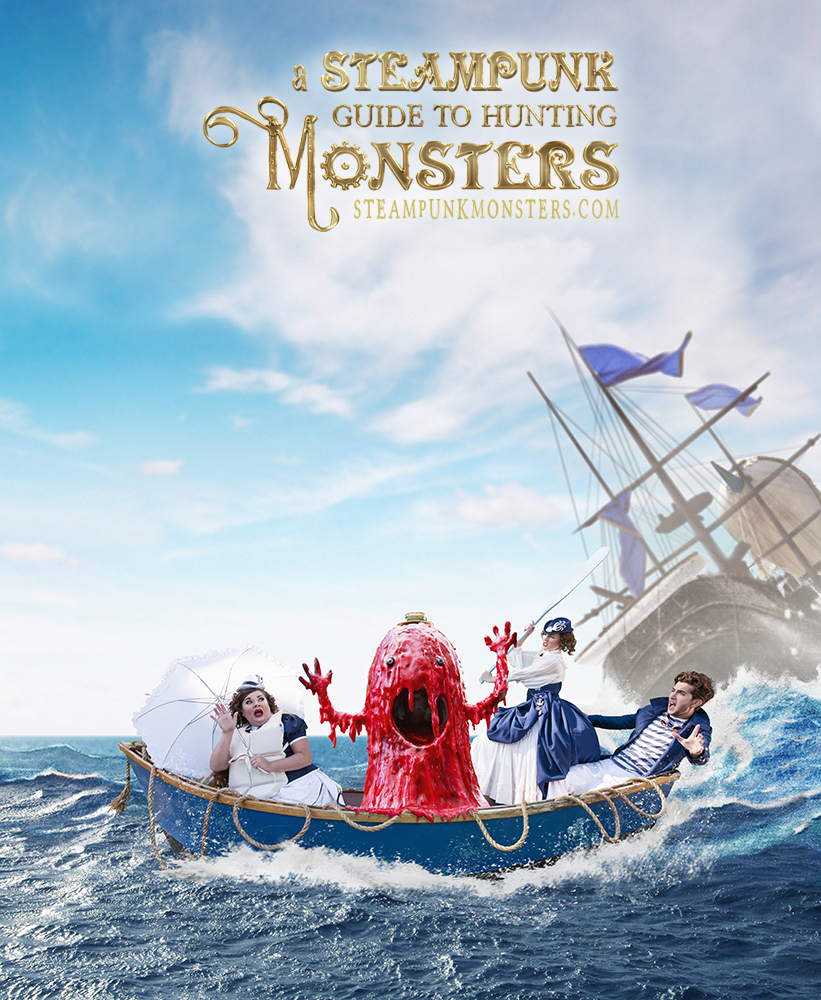
In the final photo, the blob is added digitally.
Philomena’s Costume
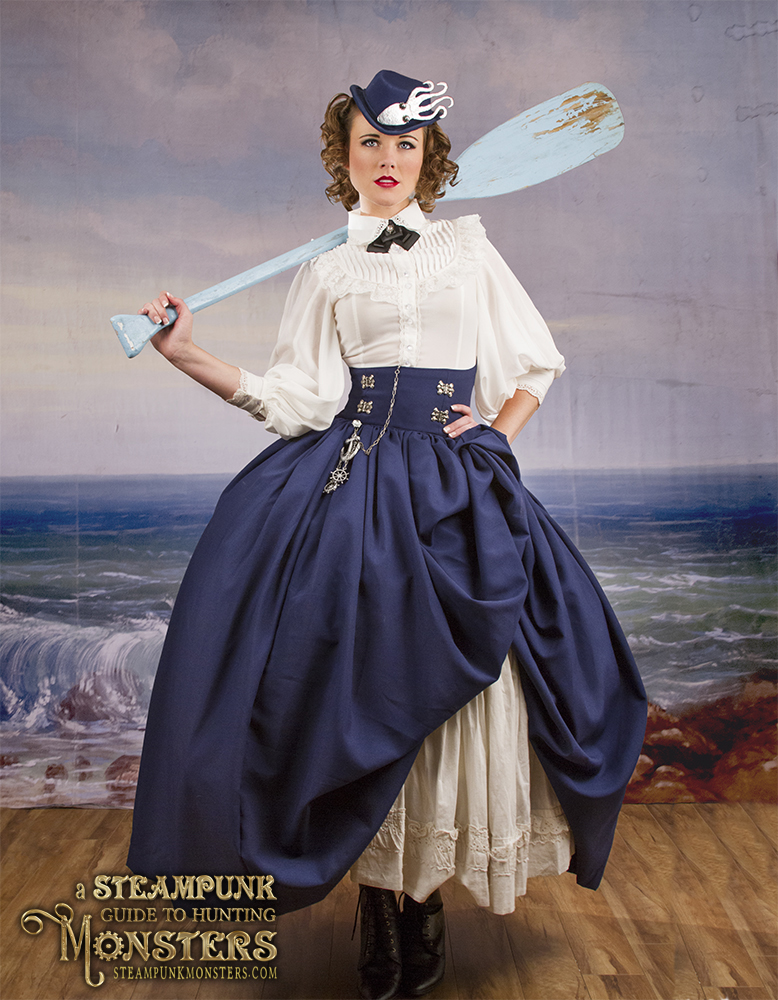
While our heroine Philomena sails across the Atlantic Ocean, she encounters the blob on a boat. Here is her blob hunting outfit, complete with a thousand underskirts and a beautiful blouse.
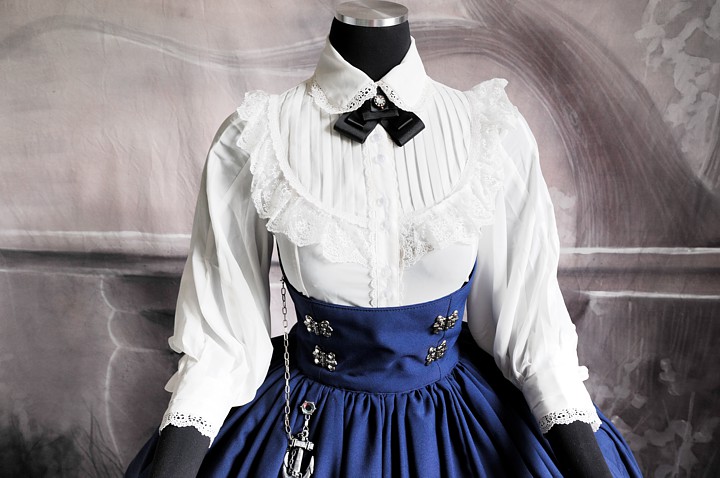
The blouse comes from Puella Miryam on Etsy.
In the photo above you can also catch a glimpse of the Nautical Chatelaine I made to pin to the gown. It has two ship’s wheels and an anchor.
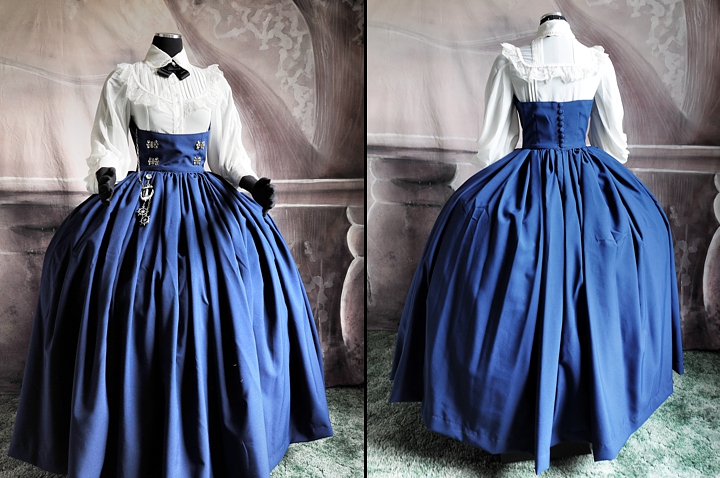
Decorative hinges cover the blue skirts seam lines. The skirt has over 6 yards of fabric in it.
The hat is covered to match.
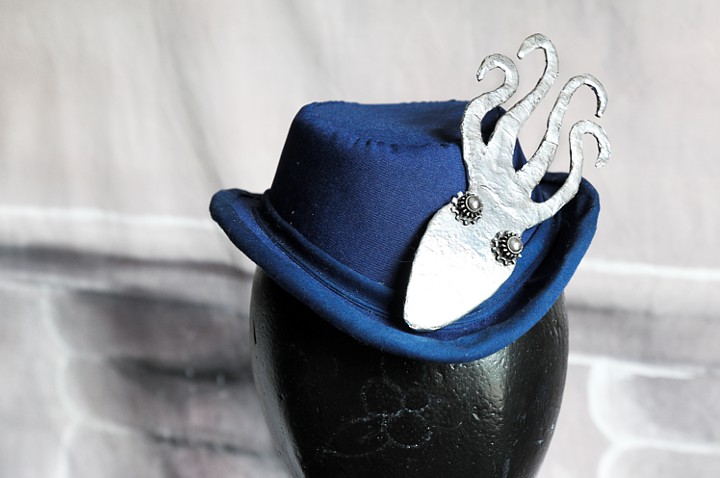
For the hat I built a squid shaped pin for decoration. It was made from Worbla and Metal Tape.
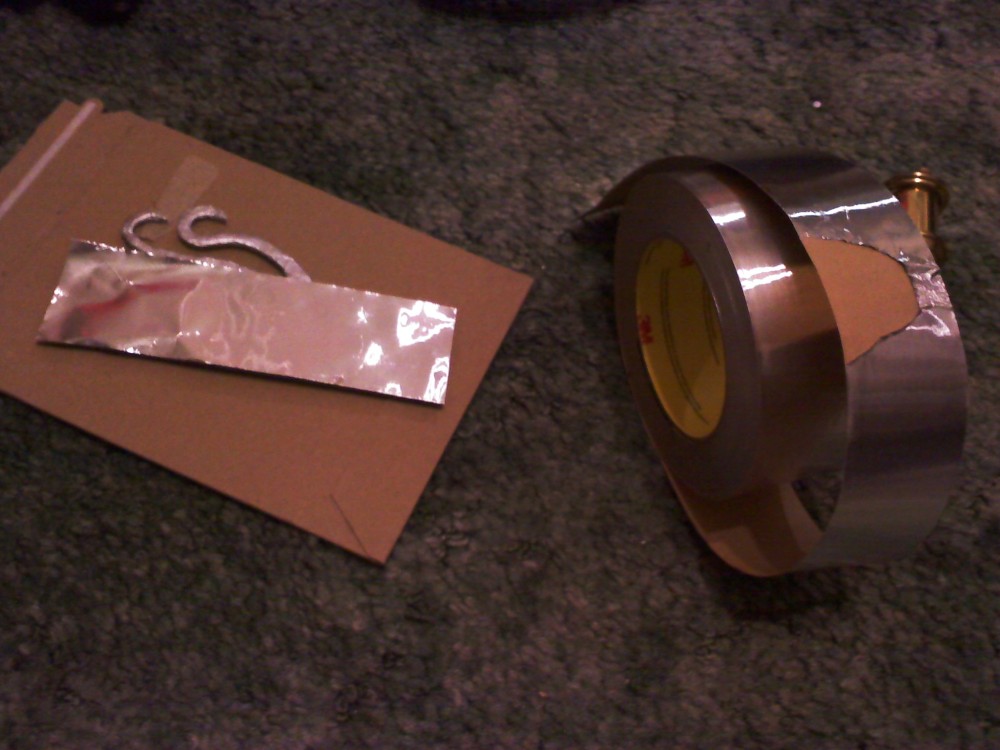
First I drew a pattern on some hard paper.
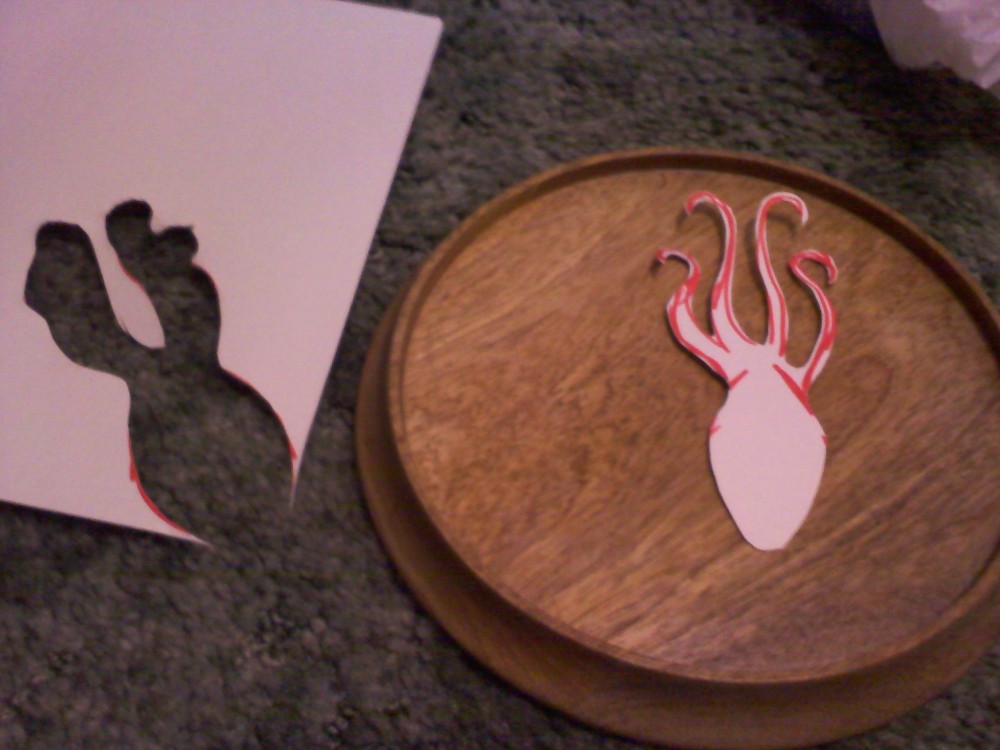
I took some worbla scraps and heated them to shape them over the form.
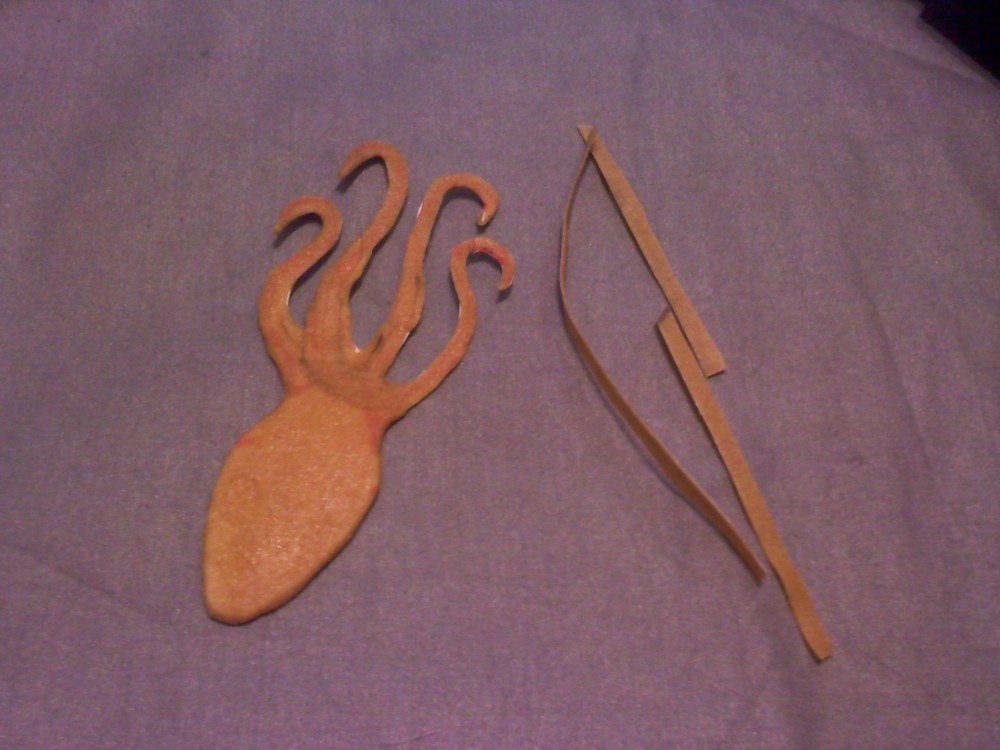
I covered both the front and back.
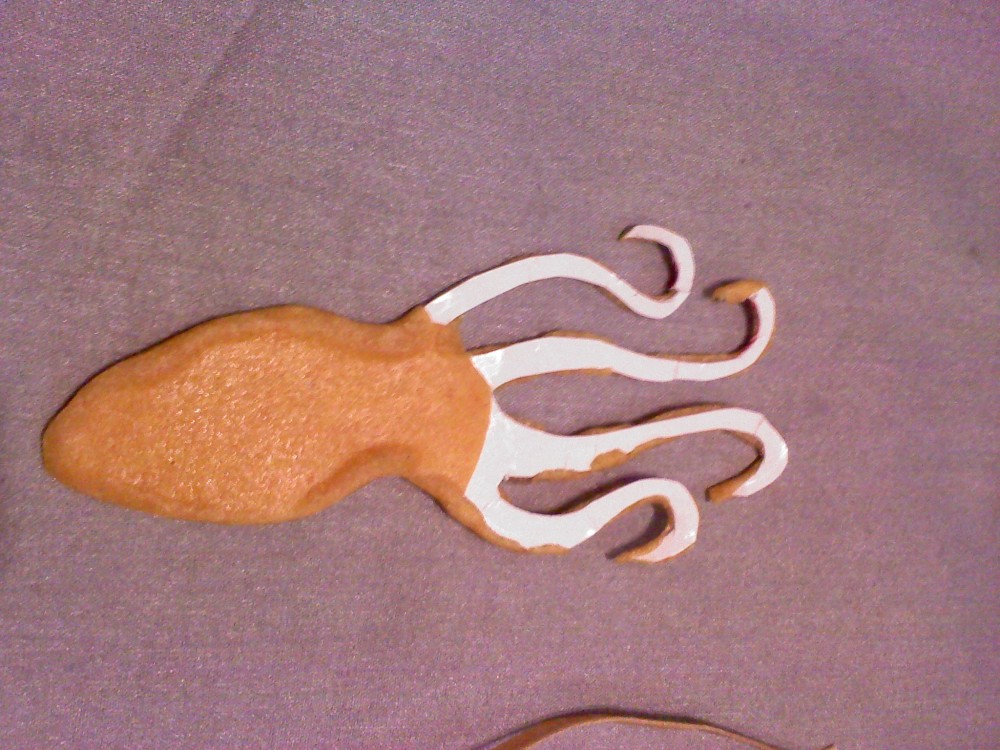
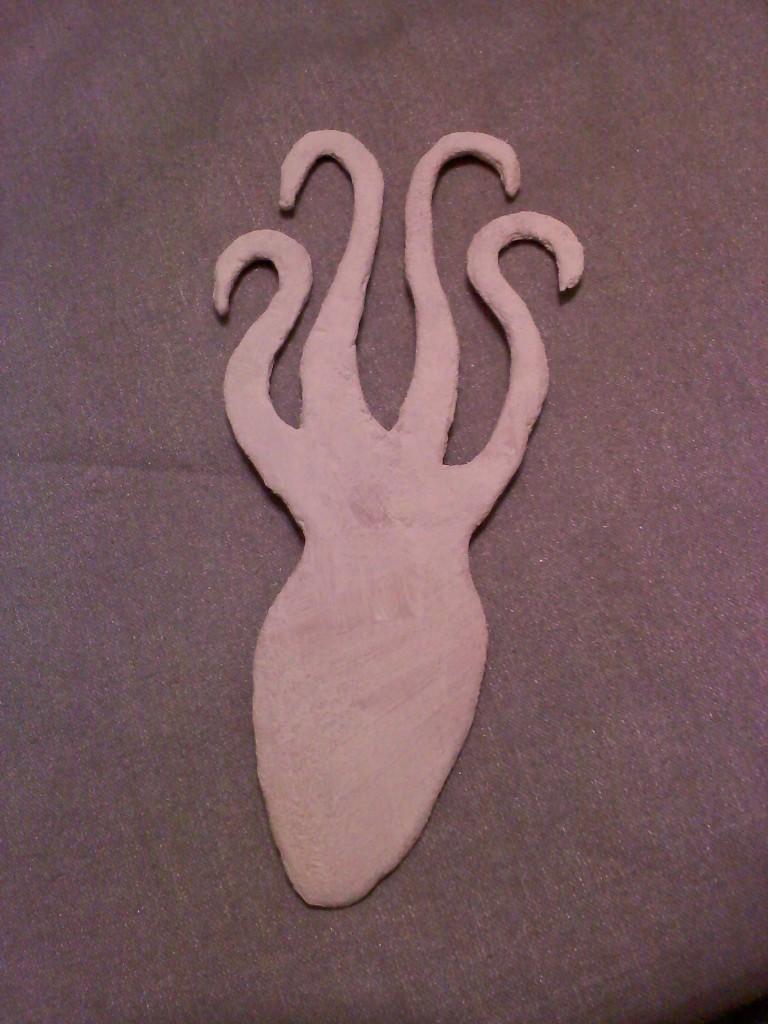
After the shape was covered in worbla I let it cool.
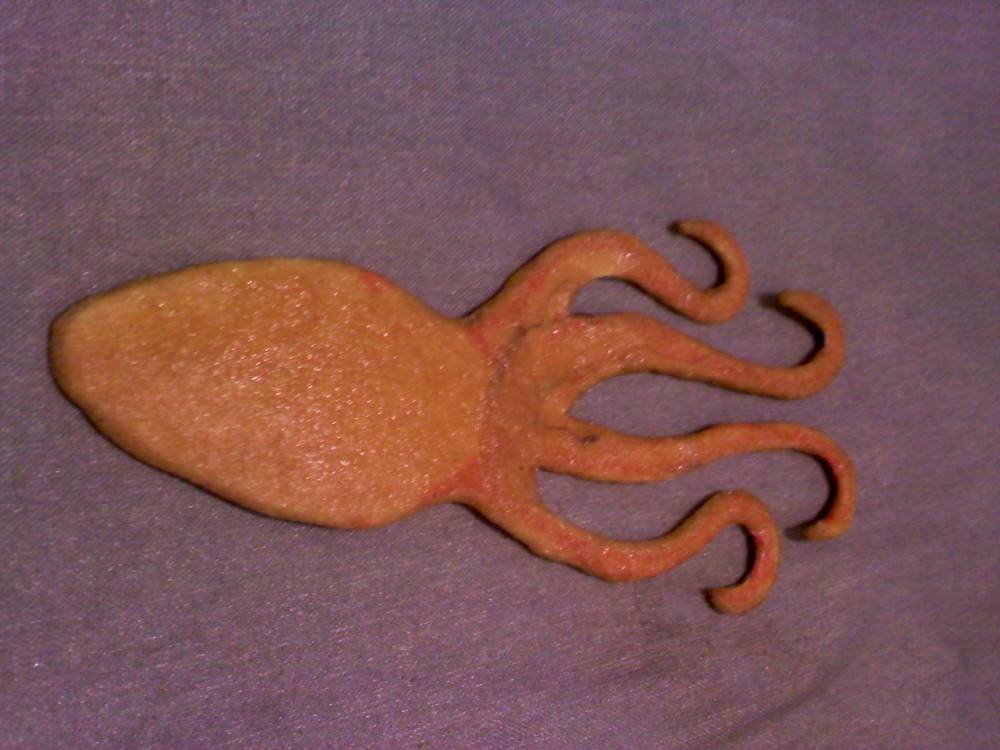
When it was ready, I primed the surface.
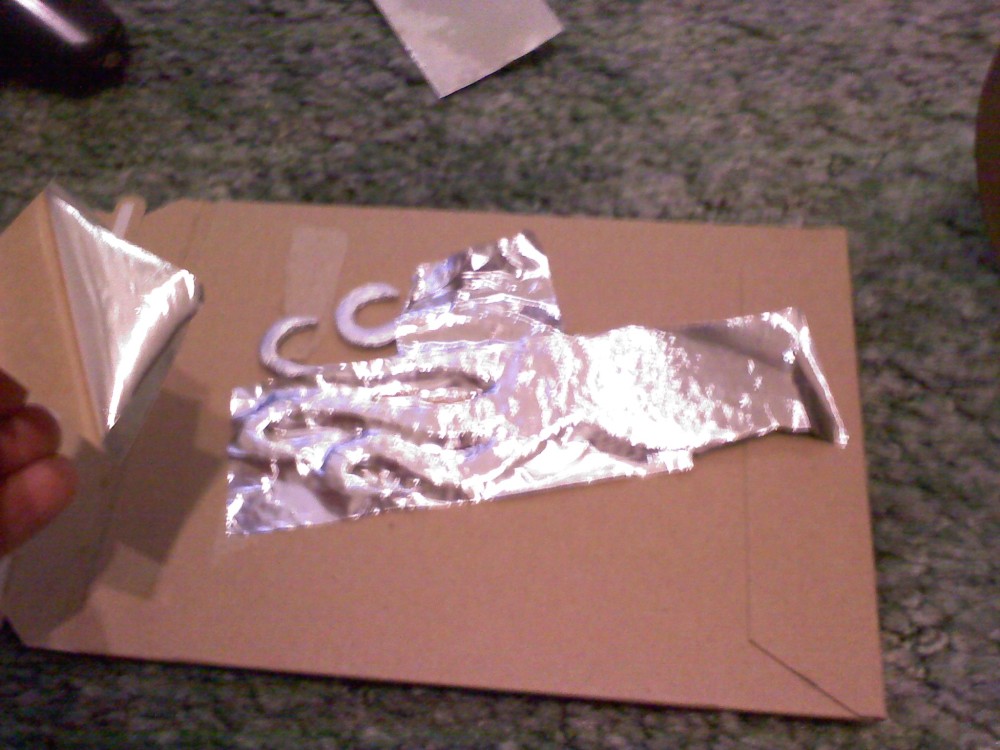
Then I took some metal tape and shaped it around the piece.
I had to smooth it around all the edges.
Once all the edges were smoothed out, I added a pin back and some bead/gear eyes.
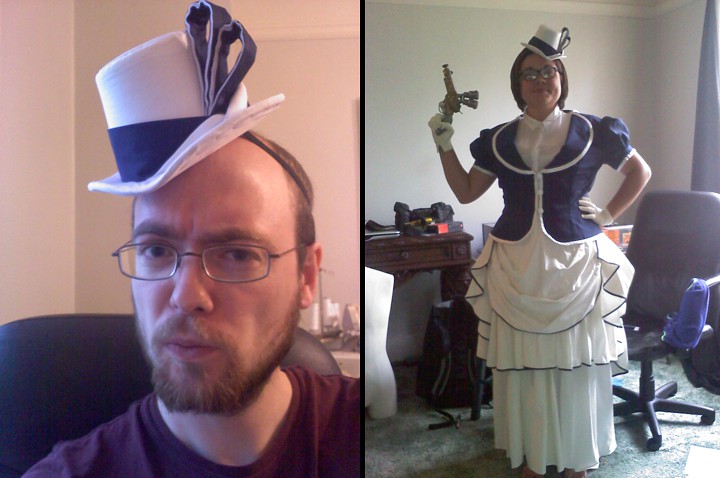
The final hat features the squid prominently.
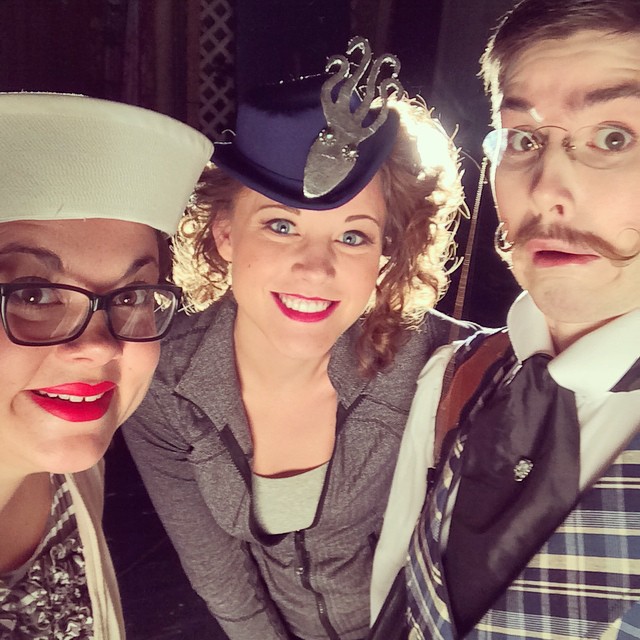
This Steampunk Squid hat goes with the final outfit.
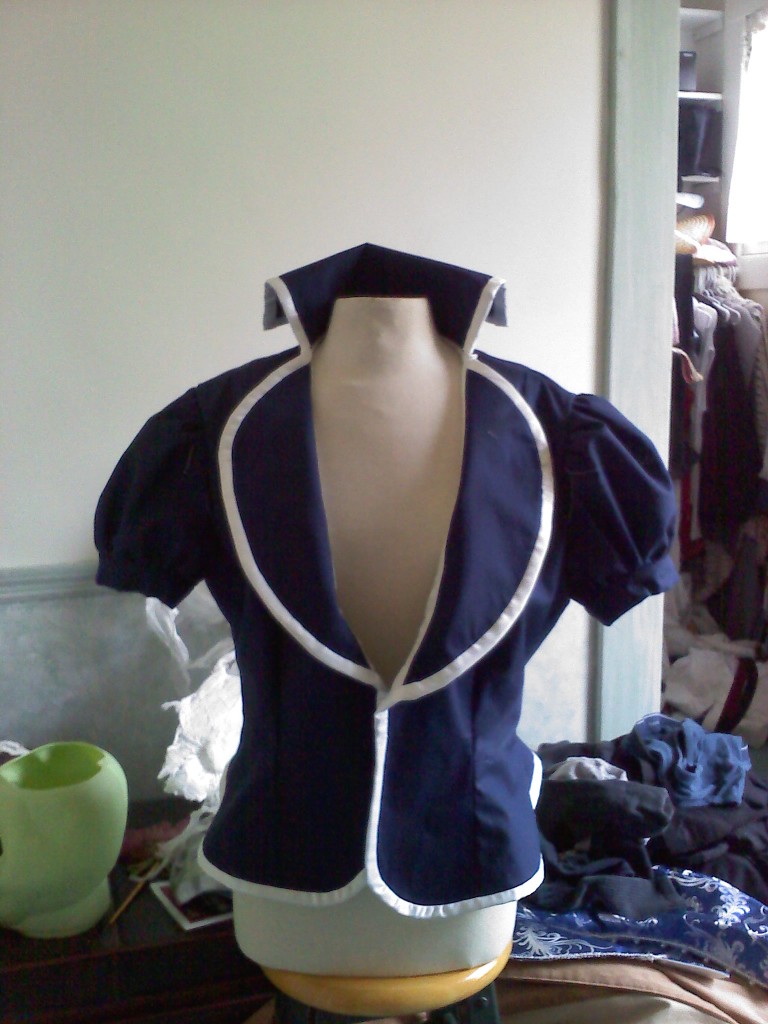
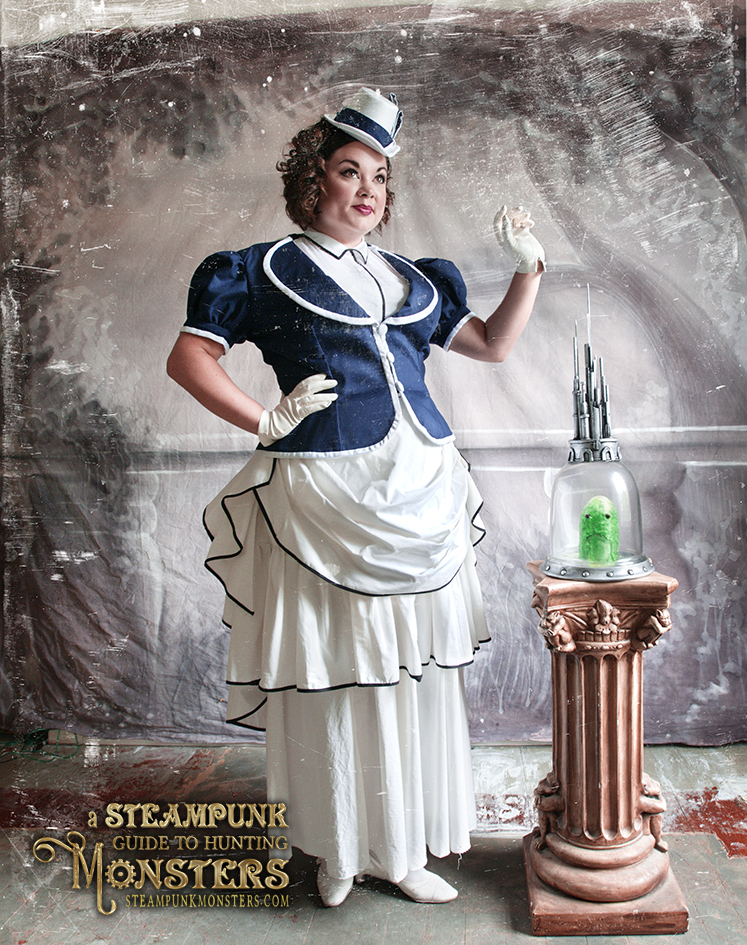
Brunhilde Bamfield’s Costume
Lizzie Hatfield, the hair/make-up artist for “A Steampunk Guide to Hunting Monsters” plays a lady monster hunter named Brunhilde Bamfield in the book, as well as doing the styling.
Her costume is built from blue suiting, white cotton and black and white bias tape.
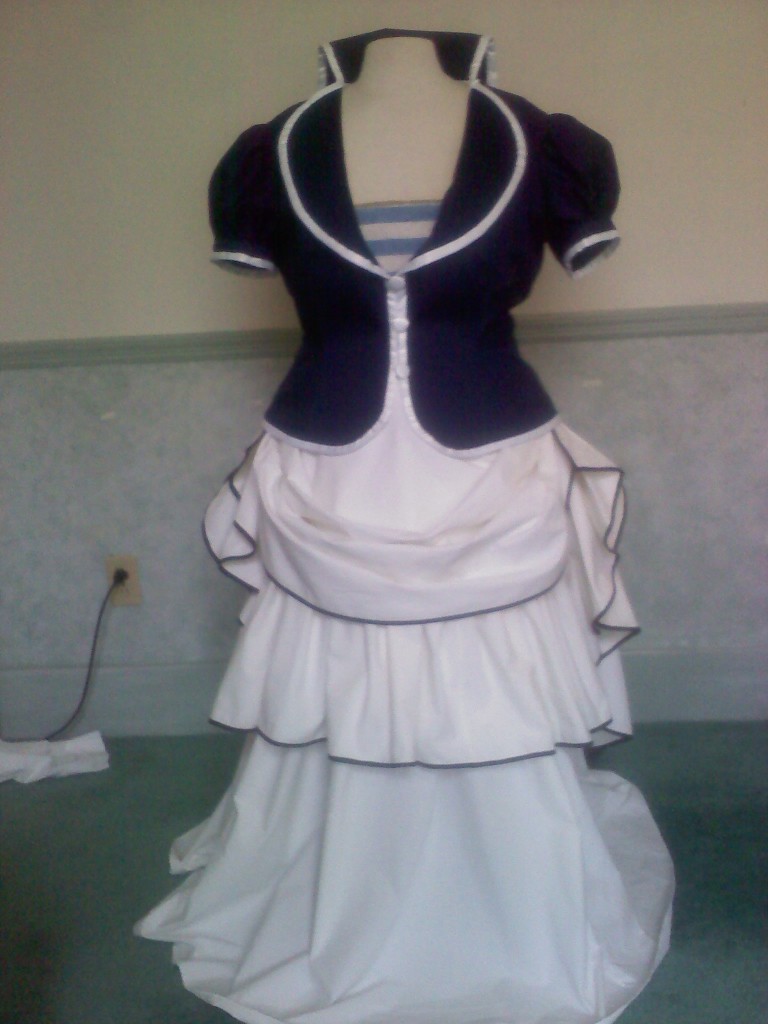
It features little capped sleeves, an underbust corset, and many, many skirts.
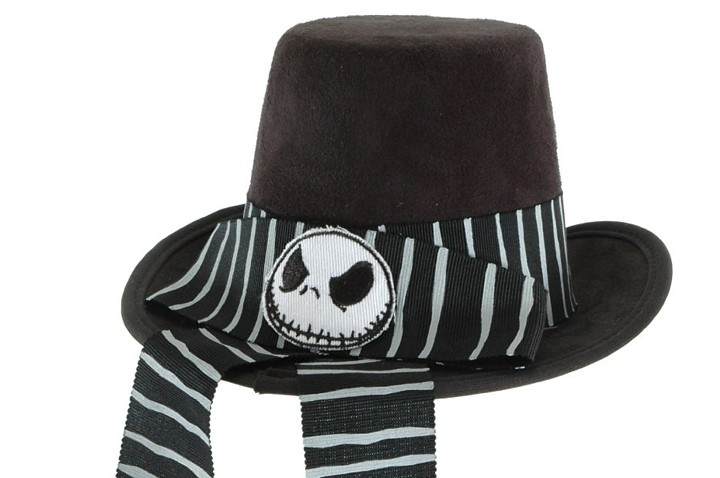
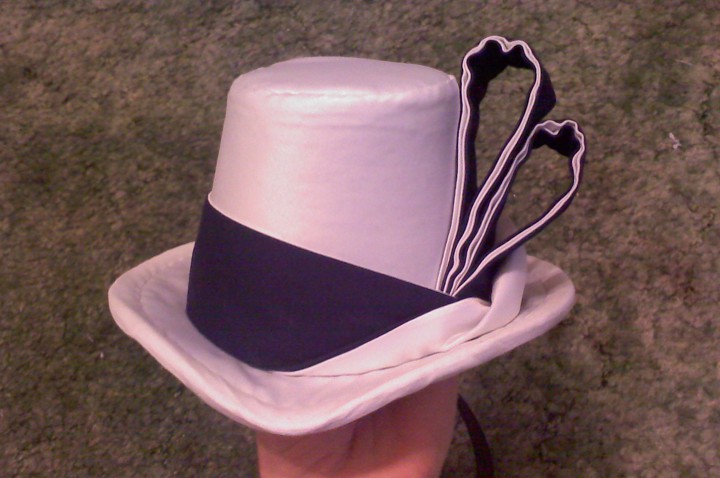
I also covered a mini top hat for the heroine! I bought many felt hats in various shapes at Halloween to prepare for this project. I found them at Target, Spirit Halloween and other costume shops.
One of my favorite designs was the hat below, which I found at Target with various decorations (not just Jack Skellington). I have used this base for three hats so far.
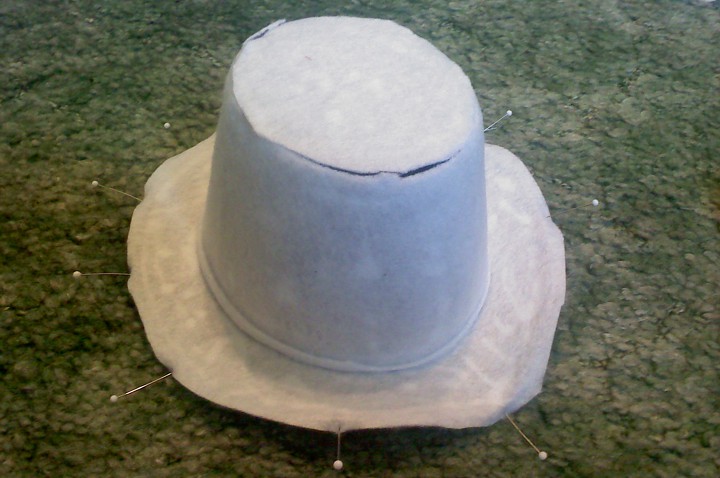
1. First I bought the hat and removed the decoration and bias strip around the brim.
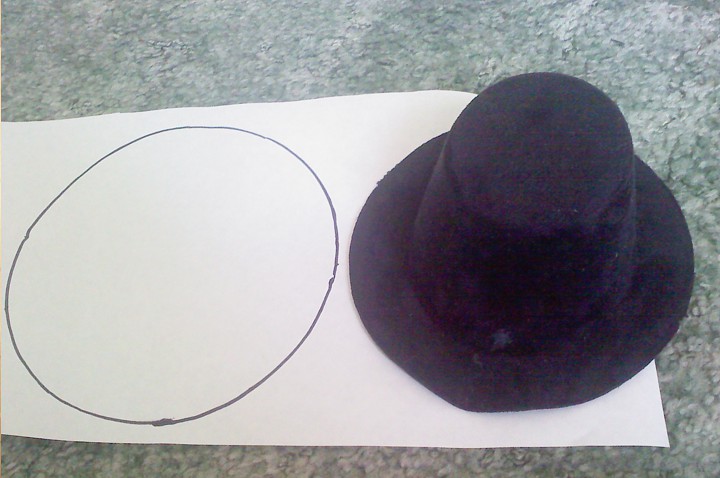
2. Next I made a pattern on wax paper. I did this because I was covering more than one of the same hat at some point.
After tracing the top and the brim, I then added 5/8inch in another circle around the first. This gives me some leeway when covering the top, sides and brim.
3. I stitch milliner’s wire on the edge of the hat brim using milliner’s wire which I buy from Lulu Deux Millinery on Etsy. This is often much easier with these felt hat forms because when you remove their cheap binding, the stitching holes usually remain, and you can just whip stitch the wire on in no time.
Milliner’s wire comes with little metal ends in tube shape that you can run the wire through in the back. This prevents the ends from poking out.
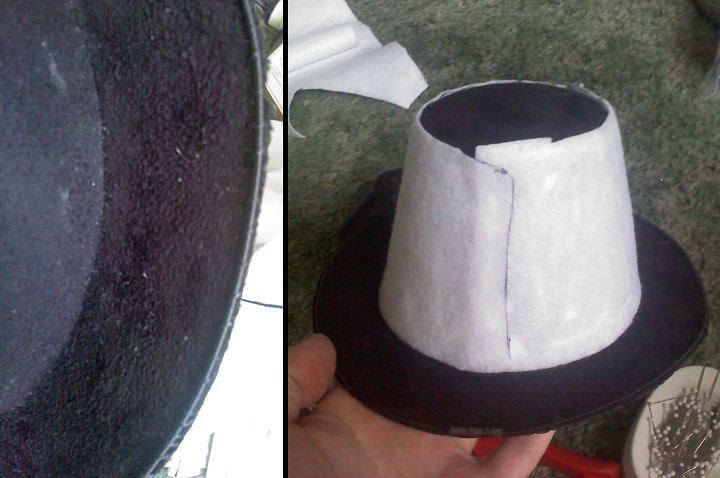
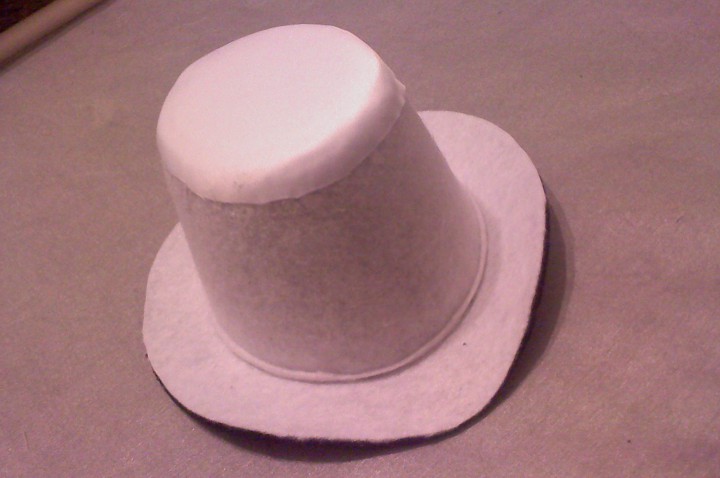
4. I cut out white felt from my pattern without seam allowance. I cover the hat in this white felt. The felt layer gives the outer fabric a nice boost and makes thinner fabrics appear to have brighter colors. I just glue the white felt on with Aleene’s Tacky Glue. I pin it down while it dries if needed. After it’s on there good, I trim up the edges of the felt. Yes, you do want to cover the milliner’s wire.
5. After that, I cut out the fabric with the seam allowance. I used white satin in this example. I stretched the top over and I also glued this down. Sometimes I sew it down, it just depends on what I think I can get away with. Try to keep the piece taught and even, because ever little mistake shows through when making a hat.
I cut out an upper and lower brim. The lower brim always looks a little rougher on my hats.
Next I cut out the brim and put that one, then sides of the hat. The sides of the hat have a seam allowance on the top and the bottom, and I try to keep the seam allowance folded up from the bottom and down from the top when sliding it over the hat form. Sometimes this is impossible and I use a chopstick to push the allowances even after the fabric is on. Honestly, this is the most detail oriented step, and I didn’t really take pictures of this process. Sorry about that.
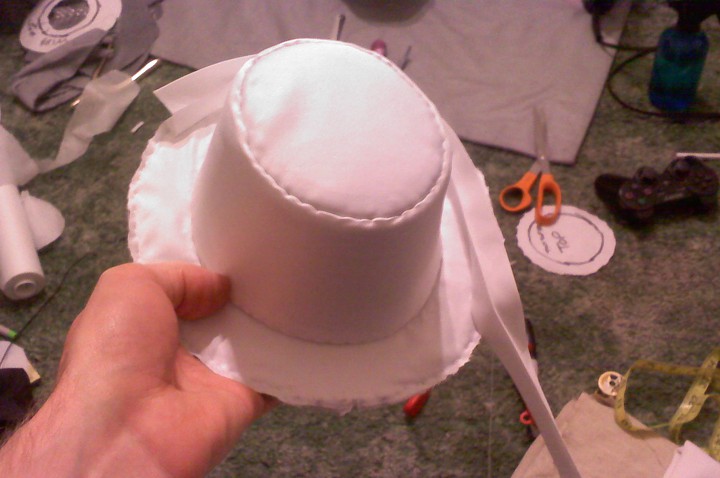
6. I stitch (or glue if I’m feeling lazy) the bias tape to the brim of the hat, over the top of the miliner’s wire underneath all the layers. In the photo below you can see that I basted the satin for the brim down before stitching on the bias tape. I used store bought bias tape for this hat, but sometimes I have to make my own. In the picture you can see that I have stitched the side fabric to the top fabric.
In the picture below you can also see the pattern for the brim with seam allowances added in the upper left corner, and the pattern for the top to the right of the hat under the scissors.
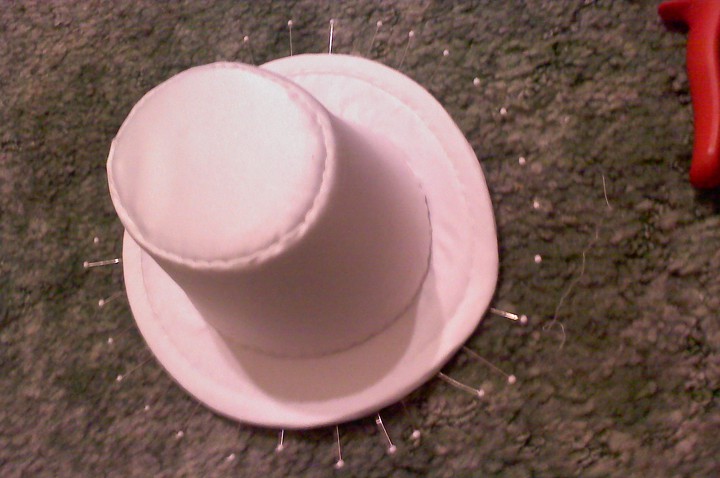
7. I glued the underside of the bias tape rather than stitching again. I do this because on a mini-top hat you never see the underside. The pins hold the bias in place while it dries.
8. The funnest step is decorating the hat. For this one I made a navy-blue and white hat band.
9. I hot glue the elastic band from the original hat back in, or make one if the original doesn’t have one. Then I cover the inner brim with grosgrain ribbon. Again, sorry for not having pictures of this, but you can see a much more thorough view of the underside in my hat-making tutorial on my other blog!
The finished white satin hat hat can be seen below. It is for one of our monster hunting participants, Brunhilde Bamfield.
I took Lizzie out to various landscapes and studio interiors to shoot.

Below you can see one of our final images of the lady monster hunter!
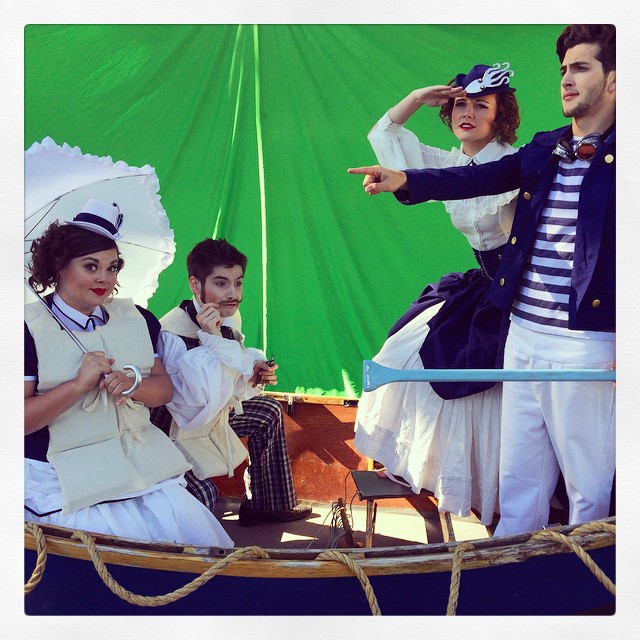
Photographing the Heroes
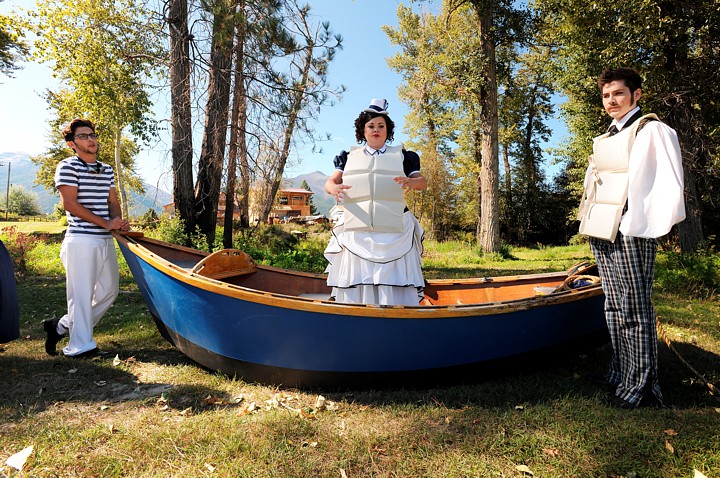
We were without a boat until the last moment, right until the night before our shoot. Brin called a man named Jim on Craigslist who was selling a drift boat. She asked if we could shoot our pictures with the boat he was selling. He and his wife said “yes” and were so friendly and accommodating! They let us come shoot in their boat on their property!
We put the boat on land and put up a greenscreen.
I had to imagine what the final image would look like, so I put together a mock-up in photoshop.

We also shot photos at the Philipsburg opera house using their authentic Victorian backdrops!
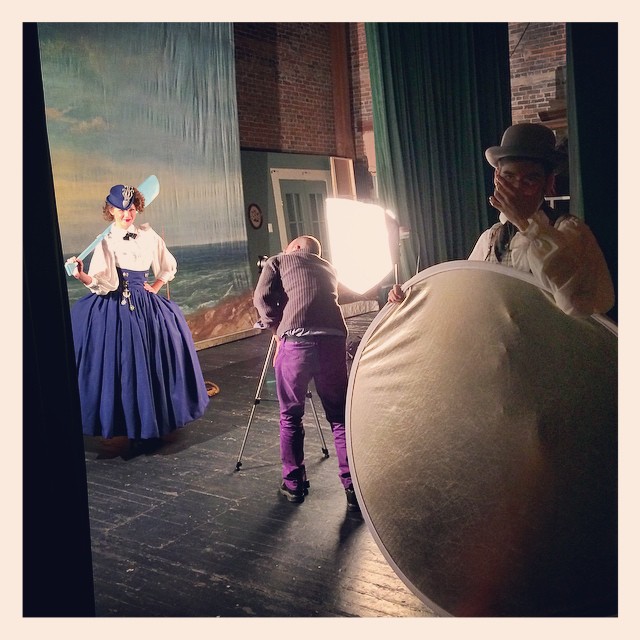
Here are all the models waiting for me to get ready to shoot.
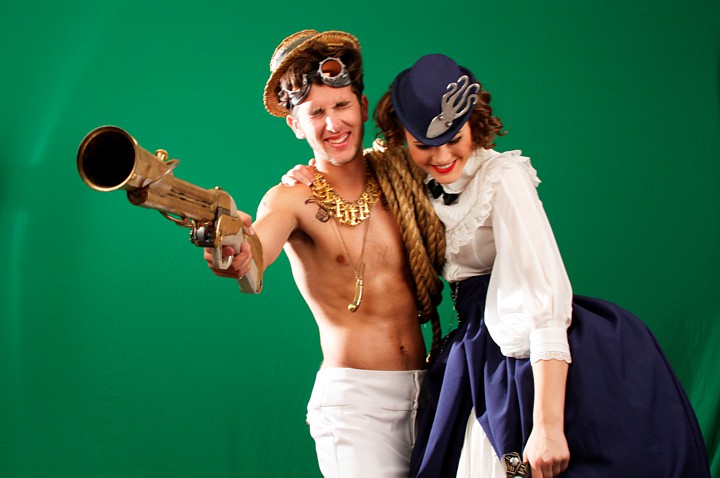
We also did some greenscreen work in the studio with the various models.
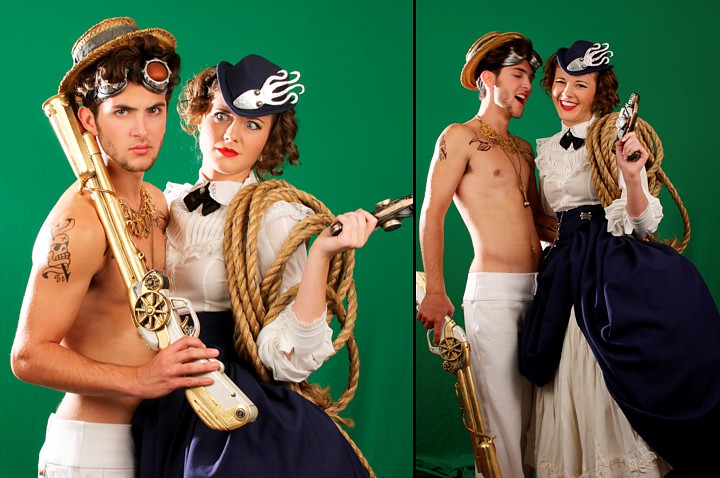
This part of the shoot was very fun and yielded some cool photos.
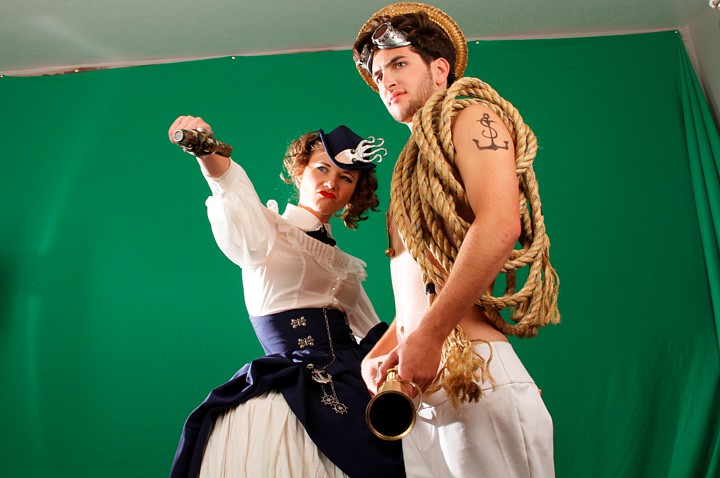
Another outtake of the models:
I hope you enjoyed this look behind the scenes!